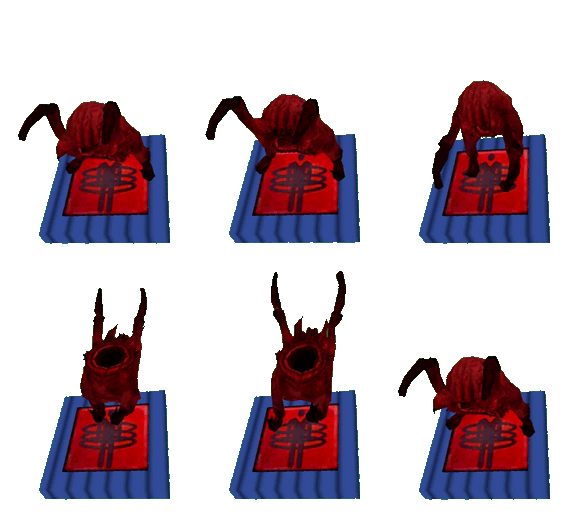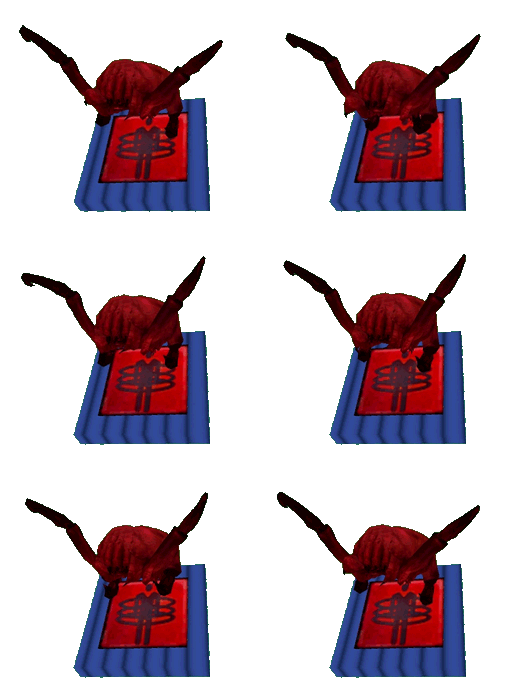

Cloning. For science. (Or the early stages of the cloning mechanic).
TUTORIAL - HOW TO MAKE A PHYSICS-BASED CLONER

SETTING UP THE PHYSICS SYSTEM FOR THE CLONER
The secret behind cloning
-
The cloning process in Doppelgangers is essentially a teleporting process, where players throw an object (the Cloner), and teleport to it after it lands. A screen_overlay activates after the teleportation, making players feel like they are controlling a Clone. After 15 seconds, another teleportation brings players back to their original position (their "original body").

A screen overlay helps players realize that they are about to teleport to their Clone
Creating a safe teleport destination
-
The first step in the creation of the Cloner was to make sure that players could teleport to it safely. In hammer, players inherit the velocity and angle of teleport destinations, so teleporting to a moving entity can result in tilted cameras and weird velocity changes.

Teleporting to a tilted object creates undesired side effects.
-
In the level, a phys_keepupright keeps the Cloner facing upwards at all times. At the same time, a velocitysensor detects changes in the Cloner's velocity, and sends the Cloner's velocity to a logic_compare, which compares it to zero. The three objects detect when the Cloner has stopped and is flat on the floor, so that players can teleport to it safely.

Logic behind the Cloner's movement
-
Finally, the Cloner has a tendency to land close to other objects. If the Cloner is too close to a wall, for instance, the player might teleport into the wall and be unable to move. To avoid that, the Cloner has an invisibile func_brush that acts as a shield, distancing the Cloner from any objects nearby. This shield activates automatically a few seconds after players throw the Cloner, and it deactivates automatically when players start controlling their Clone.

The shield is invisible to players, and it activates only after the player throws the Cloner.

SCRIPTING THE CLONER
-
The Cloner uses a relay system, triggers, and physics objects to create the cloning effect. Behind the scenes, the Cloner is a teleporter that remembers the player's origin and destination, using these points to spawn dummies that give players the impression to have travelled outside of their own body.

NPC dummies give the impression that players have left their body.
Step 1 - Attaching the spawners to the character
-
Initially, the player has two spawning entities attached to his body. One of these entities creates normal npc_barneys, which represent the player's body when the player is controlling a clone. The other one creates blue npc_barneys, which represent the player's clones.

Two spawners get attached to the player as soon as the level starts.

Players can still see their original body while they are controlling a clone.

The player character and the spawner sin the engine (some entities have been hidden for clarity).

Players can leave a clone and go back to their original body, before the "clone" life timer ends. After going back, they can see their clone's body in the level, represented by a blue Barney.
Step 2 - Spawning the Cloner
-
When players press TAB, the Cloner spawns in front of them. Behind the scenes, the Cloner is not really spawning, but it is instead teleporting from outside of the level, to an entity that is right in front of the players' camera. The reason behind this workaround is that the phys_keepupright that keeps the Cloner facing up bugs out if the Cloner is not in the level at all times.

The Cloner teleports to the green entity when the player presses TAB. The green entity is parented to the player, so it follows the players' camera.

The actual logic behind the spawning uses some additional elements, like a trigger_teleport.

A cfg file binds the TAB key to the spawning process.
Step 3 - Throwing the Cloner and "controlling a clone"
-
Once the Cloner is in front of them, players can grab it with the Gravity Gun and throw it, to start the Cloning process. When the Cloner lands and stops moving, players teleport to it, leaving a dummy of their original body behind. The dummy, along with a special overlay, makes players feel like they are controlling a clone.

A simplified version of the logic behind throwing the Cloner.
-
Several relays control every step of the throwing process, a trigger_teleport takes care of the teleportation, and an env_entity_maker creates the original body's dummy. Because players can be anywhere in the level when they throw the Cloner, the trigger_teleport covers the whole level, and it only activates for a fraction of a second when required.

The teleporting trigger covers the whole level, although it is disabled most of the time.

The trigger only activates for a fraction of a second, otherwise the player would teleport to the same position multiple times.
Step 4 - Going back to the original body
-
After controlling their clone for 15 seconds, players return to their original body automatically. However, players can choose to return to their original body early, in which case they leave a "clone dummy" behind. The "clone dummy" stays in the level until he 15 seconds run out, and players can use it to distract guards and zombies.

A simplified version of the logic behind returning to the player's original body.
-
The logic for going back to the original body mimics the one used for the cloning process. Several relays control that the steps happen in order, a spawner creates the "clone dummy", and a trigger covering the whole level takes care of teleporting the player when necessary, by activating for a fraction of a second.

What the cloning process looks like in the real world. Aka The Garden of Relays.

SCRIPTING THE MACHINE GUNS
-
The mounted machine guns in Doppelgangers are func_tanks, which players can control by pressing "E". A trigger_multiple detects when the player is close enough to the mounted gun, and activates a game_ui that takes over the players' controls and puts them into "mounted gun mode".

A game_ui allows players to control the machine guy from a first person perspective.
-
To make the gun realistic, a gun model is attached to the func_tank, giving the impression that the player is actually controlling the gun's movement. An env_muzzleflash at the end of the gun model creates visual feedback, and lets players know when they are shooting the gun.

The mounted macine guns use a func_tank, an env_muzzleflaskh, a trigger_multiple, a game_ui, and a gun model to work.


