

Lead Level Designer

The level design corner at Spaceshark Studios, on the last day of development
Why...why is a section in MY WEBSITE dedicated to one of the peasants who built my gallery? I mean, I totally know why, I made this website all by myself haha 1000%...who is this Jorge anyways?

RESPONSIBILITIES
Organizing and directing the Level Design department

-
Our Level Design Department had five members. Some of my responsibilities were collaborating with the Game Designer to create the Level Design tasks for each sprint, organizing the tasks and assigning them to the different LDs.
Making sure the levels followed the pipeline

-
At Spaceshark Studios we followed a very collaborative pipeline, to assure that levels had the best quality. LDs designed, and build the levels, and them an aesthetic pass based on the Lead Artist's recommendations. The levels then moved to the art department, where they received a final art and lighting pass. Levels then came back to us for final polish. As Lead LD I coordinated the LD and Art departments to make sure all levels followed the pipeline.
Removing blockers for the Level Designers
-
One of the most important tasks as a Lead LD was making sure that the Level Designers could always perform their tasks. For that, I had to know details about all areas of the game, including world and object's blueprints, the curator's basic functionality, scripted sequences, level building, and lighting. This allowed me to help the Level Designers in a case-to-case basis.

Communicating and coordinating with the Programming and Art departments

-
As the Lead LD, I communicated with the Art and Programming departments on a daily basis. I reported and communicated bugs and their priorities to the Programming Department, and I updated the Art Department on the assets that we needed to finish the levels.
Making decisions based on playtesters' feedback
-
Every week the team had a playtest session, where we tested the game with 4 to 5 playtesters, to identify design flaws and bugs. My job included filtering the feedback, identifying the underlying problems behind it, and deciding what part of the feedback had the highest priority for the next sprint.

Supervising the design of the levels

-
As part of the LD pipeline, I supervised the level designs for the game. Part of my job was approving the level designs, as well as making adjustments and recommendations to improve them, and deciding what design changes were necessary to reach a good learning curve and a balanced game.
Worked with the Game Designers and LDs to concept all levels

-
At Spaceshark studios the Level Designers and the Game Designer collaborated to create the level progression, and to concept the design for all of the levels on paper, before creating the whitebox in Unreal Engine.
Level Design and Building
Level Design

-
As part of my work in Level 4, I designed the bottom floor of the level. As an introduction to the mechanic, two simple challenges tell players that moving boxes can shatter glass-panes, and that boxes need velocity in order to be able to break the panes.

Sometimes I need to eliminate all distractions so that my pupil understands what to do. Ah, I miss my penguins...


My pupils found out that they could break glass by giving the boxes some velocity. It took me four years to create that pane of glass.
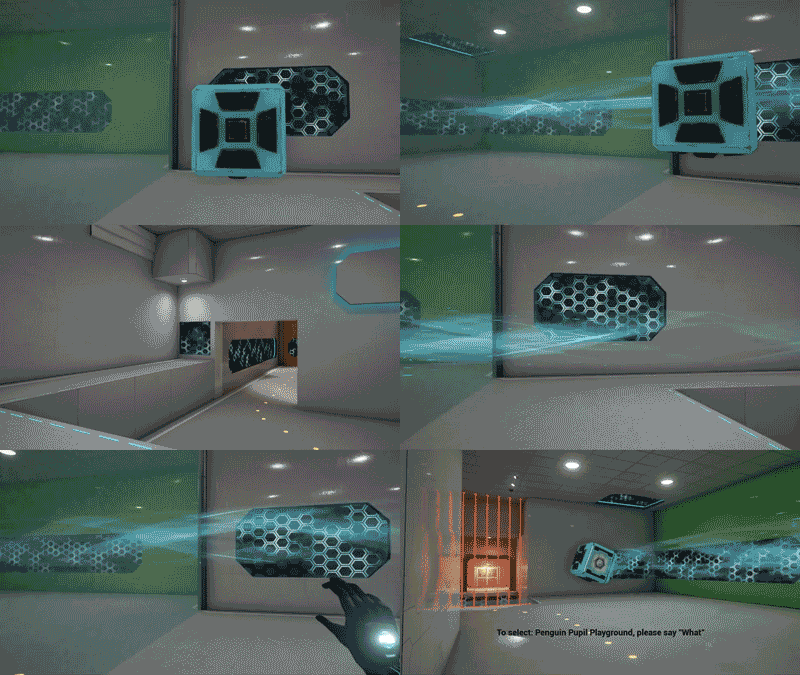
-
In Level 7, I worked on the design of the first Area, along with Tyler Morgan. As we didn't want the last level to become a puzzle, we created a small challenge that would force players to listen to the Curator's last speech for a short period of time. Players who already knew the solution, could skip through the speech, while new players usually spend enough time in this area to hear the Curator's words.
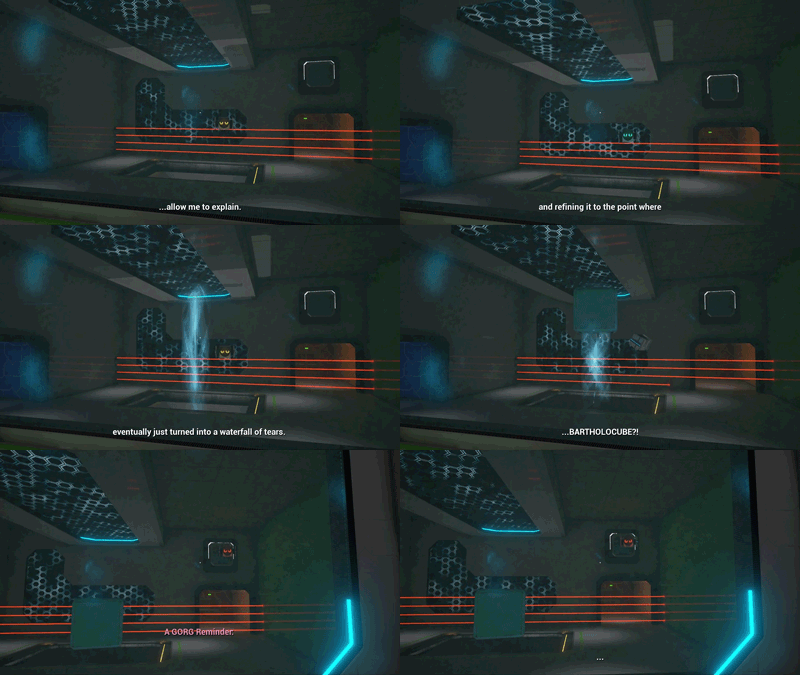
Some pupils realized they could interrupt my last speech. It's ok, I had only been rehearsing that for MY WHOLE LIFE.


Level Building
-
Finished first-pass aesthetics iteration of the laser pool and the laser ocean in Level 3

Level 3 - Area 3 during the gameplay iteration

Level 3 - Area 3 after the Aesthetics pass

Level 3 - Area 2 during the gameplay iteration
Level 3 - Area 2 after the Aesthetics pass

-
Gameplay and aesthetics iterations for Area 1 in Level 7

Level 7 - Area 1, the room where the Curator gives his last speech
-
First design and aesthetics iteration of the Gravity Hallway in Level 0. The Gravity Fields and banners were added at a later iteration by Tyler Morgan.

The Gravity Hallway is the first time players encounter the Gravity Fields. As such, we wanted to show the effects of the fields in an easy and casual way.
Blueprint work

Door blueprints
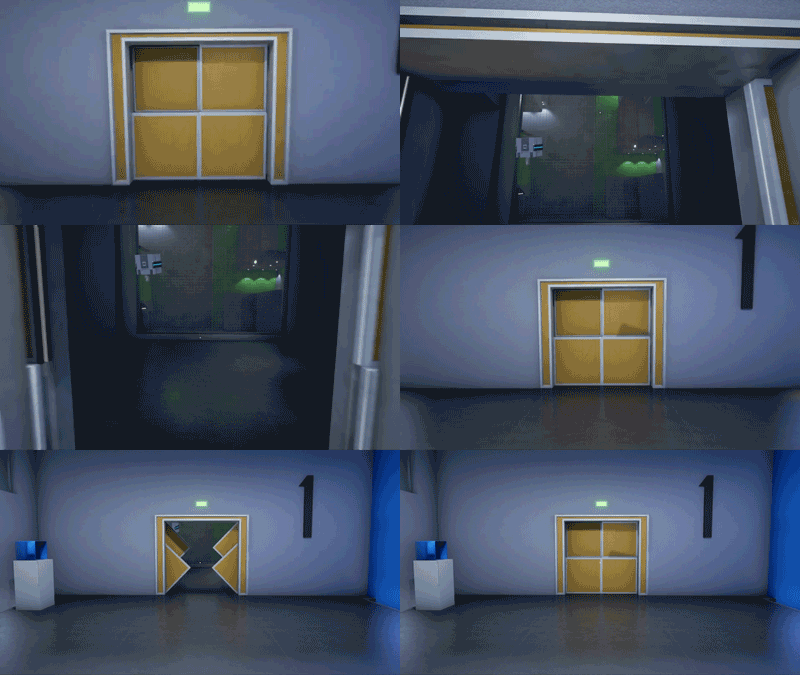
Regular door

Lobby's door - All doors in the game follow a very similar logic
-
The door blueprints follow a simple logic, where the opening and closing events trigger the opening and closing animations. A boolean makes sure that a door doesn't open/close if it is still animating.

A timeline changes the local rotation of each door panel. Once the timeline finishes, a boolean activates to confirm that the door has stopped animating.
-
The door also keeps track of the position of the player, even when the door is animating. Thanks to that, if the player gets away from the door when the door is still opening, the door closes as soon as it finishes the opening animation.

Improvements to glass-breaking blueprints
-
At the beginning of development, the glass panes would break even when boxes barely touched them. To address this problem, the blueprint was updated with the following properties:
-
An enum "breaking direction", that could have the values "X", "Y" or "Z"
-
A "velocity threshold". If an object collides with the glass with a velocity above the threshold, it breaks the glass.

-
Those properties allowed us to only break the glass if an object hit it perpendicularly, with the following logic:
-
Detect what type of object has collided with the glass.
-
Separate its velocity in three axis components
-
Check the module of the velocity in the direction "breaking direction"
-
Check if the module of the velocity is above the threshold, and break glass if so.

This part of the blueprint calculates the module of the velocity in the direction "BreakGlassDirection"

Actor mover
-
Given a Start Position, and End Position, and a Speed (all set by the user), the "Actor Mover" moves a set of actors from the start position to the end position, with the desired speed. We created this blueprint so that we could easily stop and restart an actor's movement, as well as change its speed in the middle of the movement.

The moving lasers in the last room of Level 7 use an "Actor Mover" to go from the ceiling to the floor.
-
The Actor Mover uses the following logic:
-
Attach all actors to the origin object
2. Calculate the distance between the Origin Object and the Destination Object. Using the Speed and calculated distance, calculate the Time that the objects need to spend moving.

Given speed and distance, the blueprint calculates the time of movement
3. Use "Move Component To" with the calculated time, on the Origin. Since all of the actors are attached to the origin, they move with it.
-
The Escape Pod where the player starts the game uses an advanced version of the "Actor Mover" to move towards the art gallery. The moving lasers in level 7 also use the "Actor Mover" to go from the ceiling to the floor.

Theater lights
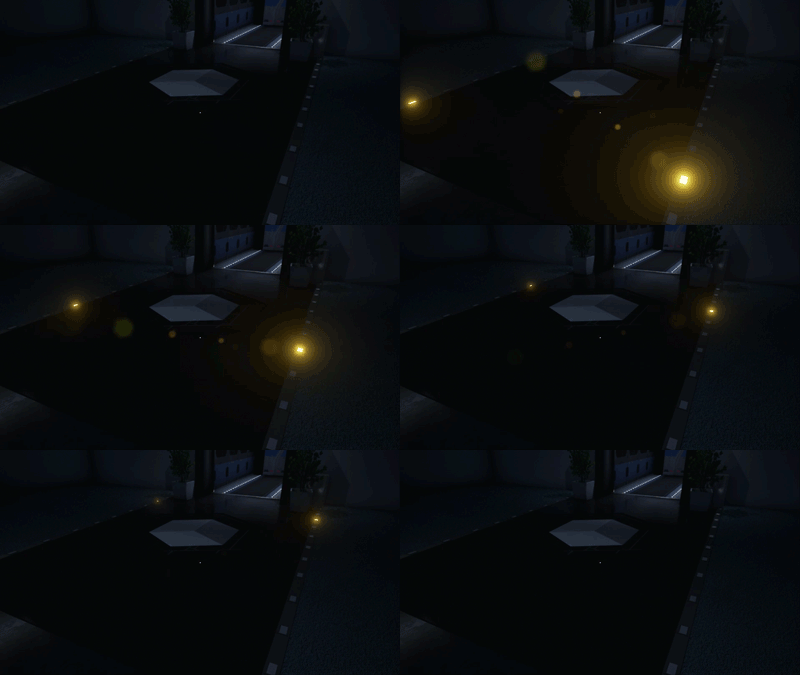
The theater lights guide the player towards the Escape Pod in Level 7
-
The "Theater Lights" blueprint creates an illusion of movement by changing the material on the floor lights at the right time. The logic (in a simplified version) is as follows:
-
Light 1 turns on after X seconds. It stays on for Y seconds.
-
Light 2 turns on after X+Y seconds. It stays on for Y seconds.
-
Light 3 turns on after X+2Y seconds. It stays on for Y seconds.
-
Light 4 turns on after X+3Y seconds. It stays on for Y seconds.
-
.............

The logic that sets the delay for each light. In the game, we can actually set up a small delay
between each light.

Objects' highlight
-
When a Gravity Field preview touches an object, a highlight appears around the object. The highlight helps player tell apart which objects they are going to move with a Gravity Field, when several objects are close to each other.
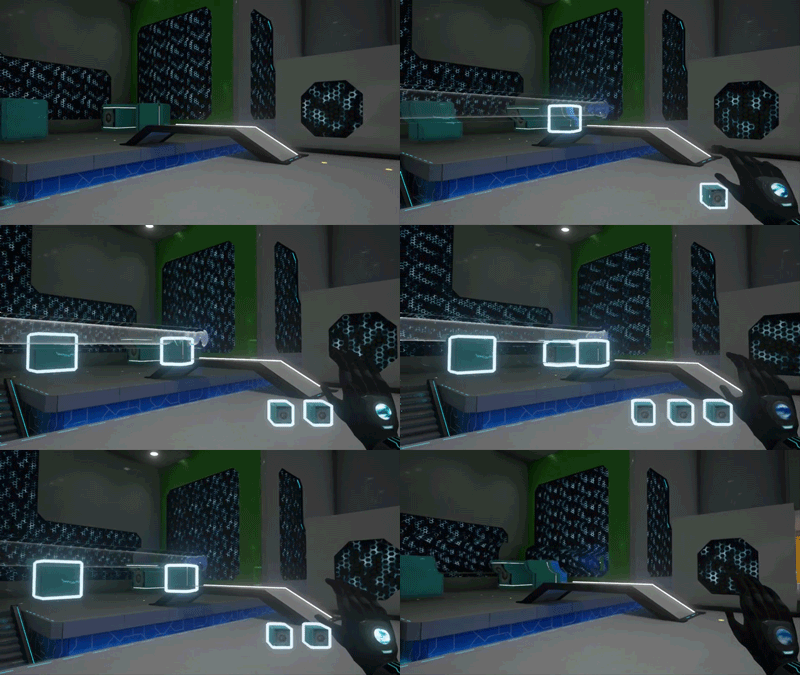
The highlight makes it easy for players to know what they are going to attract
-
The highlight works thanks to a post process volume with a blendable material. Every time the Ghost Field touches an object, the blueprint checks if the object is "pick-upable", and if it is, it applies the material to it.

Once the blueprint detects a collision and checks that the object is "pick-upable", it applies the blendable material to all of its static mesh components
Localizations

Translating the game to Spanish
-
As part of the last milestone work, I translated the whole game to Spanish, which included all of the Curator's and SHI's lines. The translation to Spanish required going into all of the Robot blueprints and adding the translated line to every "Robot Behavior" node.

Each "Robot Behavior" node requires a translated line, so that the subtitles show in the right language

Each level blueprint had close to a hundred nodes to control all of the Curator's and SHI's dialogs
-
The translation includes the texts in the lobby, which update in real time based on the game language.

The texts in the lobby update in real time.
Ghost Fields - Design + Initial implementation
-
In the initial implementation of the Gravity Fields, there was no way to preview a field before creating it. This caused a lot of problems, including:
-
Players would not remember that Gravity Fields are always perpendicular to surfaces
-
Players were forced to do a lot of trial and error. If they wanted to hit a box that was not in their field of view, they had to create several fields and wait to see if they caught the object.
-
-
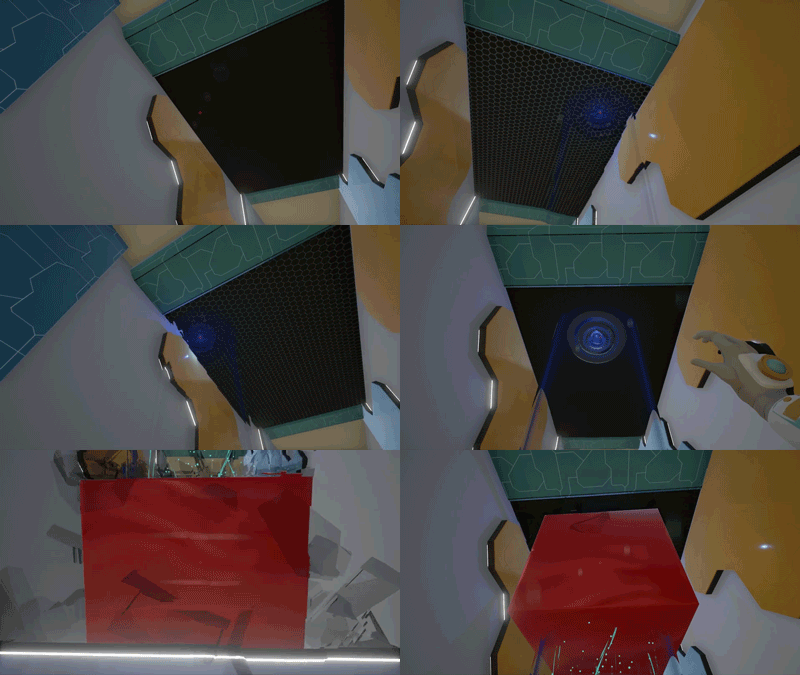
To solve the problems, I designed a simple mechanic called the "Ghost Fields". Ghost Fields are a preview of a Gravity Field, which appears if players press and hold their left mouse button. Further iterations done by the programmers, made the Ghost Fields light up if they were hitting an object, which solved all of the issues mentioned above.
At first ghost gravity fields didn't have any feedback when they touched an object. Players didn't know if their gravity fields were going to touch an object.

Ghost fields in the final version of the game. In this version, the fields light up if they are hitting an object (a box in this case).


